
May 5, 2026 · Clean Proper
Move-Out Cleaning Checklist: Get Your Full Deposit Back
A move-out clean is the last thing standing between you and a clean handover. Here's the complete, room-by-room checklist landlords and inspectors actually check — plus the spots that quietly cost tenants money.
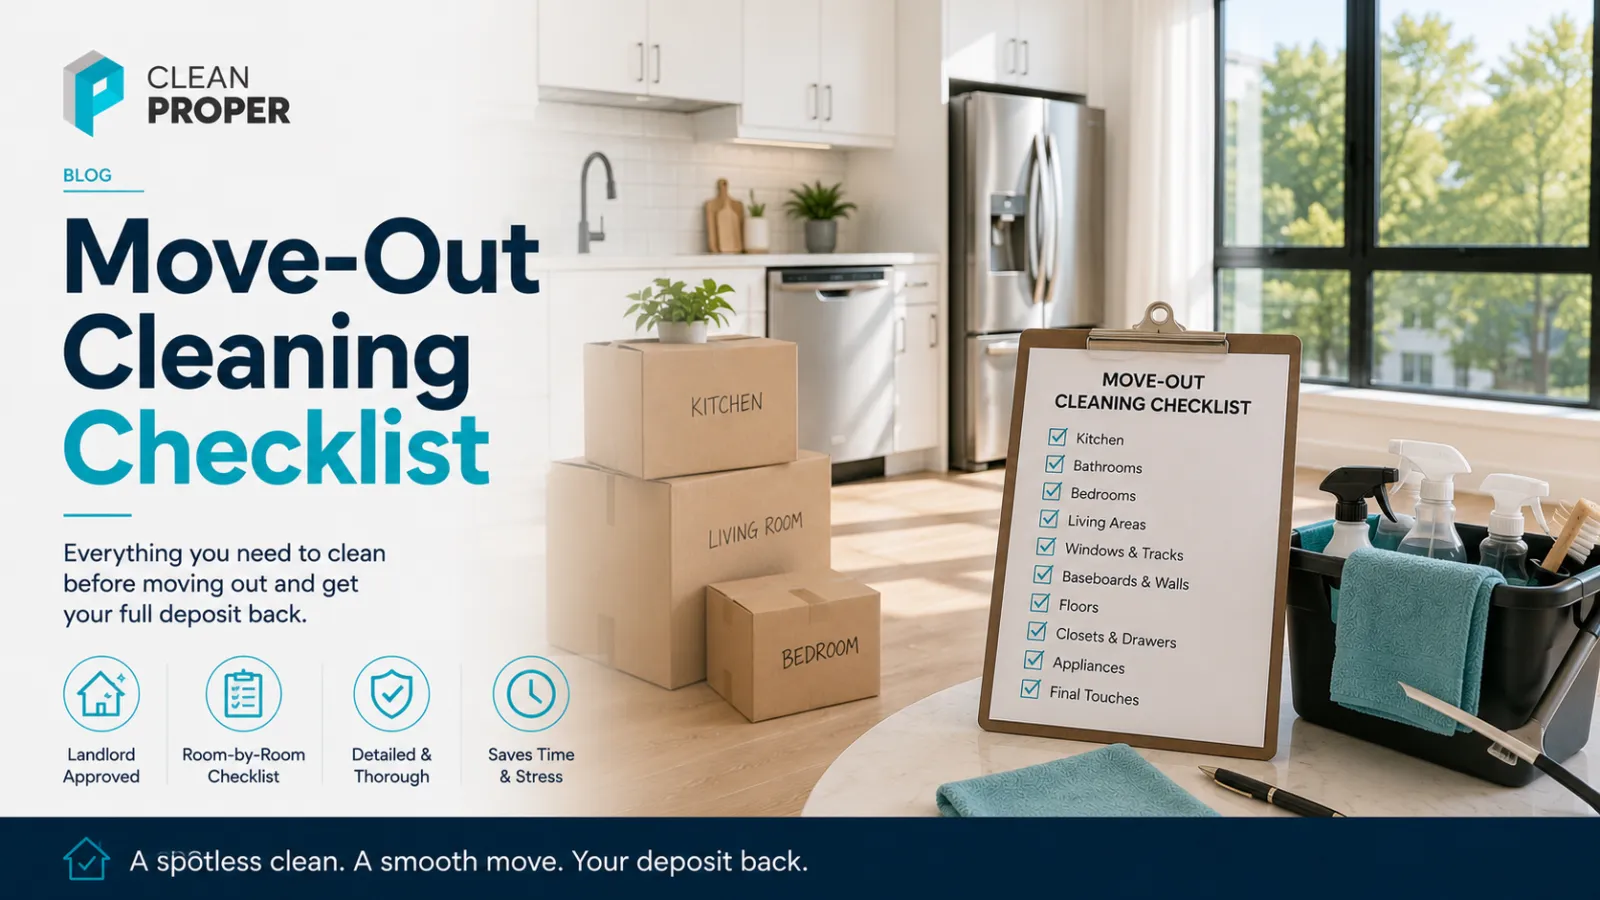
Moving is exhausting, and cleaning is the very last thing you want to do once the boxes are gone. But the move-out clean is what stands between you and a clean handover — a landlord signing off, a property manager with no reason to charge you, or a buyer taking the keys without a complaint. Inspections don’t judge a home the way you live in it day to day; they go straight for the spots that only get attention when a place is empty. Below is the complete, room-by-room checklist we work to on every move-out clean — plus the details that quietly cost tenants money.
Before you start
A few things make the whole job faster and the result better:
- Clean last, when the unit is empty. Once the furniture’s gone you can reach inside every cupboard, behind the appliances and along every baseboard — the exact places an inspection targets.
- Work top to bottom, then out the door. Dust falls, so clean high (fixtures, shelves, vents) before floors, and clean your way toward the exit.
- Have the right kit: microfibre cloths, a non-toxic all-purpose cleaner, a limescale remover for hard water, a non-scratch scrubbing pad, a vacuum, a mop and a step stool.
- Read your lease or the landlord’s move-out sheet. If you were given a checklist, clean to it — that’s the exact standard you’ll be judged against.
- Photograph the finished result. Dated photos of a spotless, empty unit are the single best protection if a cleaning charge is ever raised.
Every room — the whole-home pass
Some tasks repeat in every room. Do them room by room so nothing slips through:
- Walls & marks — spot-clean scuffs, fingerprints and smudges (test a non-scratch eraser pad on the paint first).
- Baseboards, doors & frames — wipe down; they collect a surprising film of dust and hand grime.
- Light switches, outlets & thermostat — wipe them (among the first things an inspector actually touches).
- Light fixtures & ceiling fans — dust and wipe; empty flush-mount covers of dust and insects.
- Vents & returns — vacuum and wipe the grilles.
- Windows, sills & tracks — clean interior glass, wipe the sills, and dig the grit out of the tracks (a chronically missed spot).
- Closets — wipe shelves and rails, vacuum the floor.
- Floors — vacuum, then wash or mop, right into the corners and along the edges.
Kitchen — the room that makes or breaks an inspection
- Cabinets & drawers — inside, outside and on top; clear crumbs and sticky residue.
- Countertops & backsplash — degrease and descale.
- Sink & taps — scrub, descale hard-water spotting, polish.
- Oven — inside (racks, door glass, floor) and out. This is the number-one flagged item, every time.
- Stovetop, range hood & filter — degrease the burners or elements and the hood filter.
- Microwave — inside, outside and the turntable.
- Fridge & freezer — empty and wipe the shelves, drawers and door seals, then pull the unit out to clean behind it and the floor beneath.
- Dishwasher — wipe the interior and door edge, and clean the filter.
- Floors — wash, including under and behind appliances where you can reach.
Bathrooms — where humidity hides the deductions
- Toilet — bowl, seat, base and behind.
- Tub & shower — descale, remove soap scum, clean the glass or curtain rail.
- Tile & grout — scrub the grout and remove any mould or mildew.
- Mirror, vanity & fixtures — polish glass and chrome; wipe the cabinet inside and out.
- Exhaust fan — dust the cover (a grey, dusty fan cover is an easy inspector catch).
- Floors — wash, including behind the toilet.
Bedrooms & living areas
- Closets & built-ins — shelves, rails and floors.
- Blinds & window coverings — dust the slats; wipe if they’re the wipeable kind.
- Walls & floors — spot-clean marks, then vacuum and wash. If the unit is carpeted, vacuum thoroughly — and consider a steam clean if there are stains, which is often expected on carpeted rentals.
Don’t forget the extras
The spots people walk right past on moving day:
- Laundry — wipe the washer and dryer exteriors, empty the dryer lint trap, and reach behind if you can.
- Balcony or patio — sweep, clean the glass and railings, and remove anything left behind.
- Entry & hallway — the floor and door everyone sees first.
- Garage, locker or storage — sweep out and clear.
- Keys, fobs & remotes — gather everything to hand back (unit, mail, parking, garage).
The spots that actually cost tenants money
Most cleaning charges trace back to the same short list. If you’re short on time, make sure these are spotless: inside the oven, the fridge seals and the floor beneath it, limescale and grout in the bathroom, scuffs on walls and doors, dusty vents and fan covers, sticky cupboard interiors, and the grit in window tracks. They’re easy to miss because you never touch them while you live there — which is precisely why an inspector heads straight for them.
A quick note for Ontario renters
Worth knowing: in Ontario, landlords can’t collect a damage or “cleaning” deposit — the only deposit allowed is last month’s rent, and it can’t be withheld for cleaning. That doesn’t let you off the hook, though. A unit left dirty beyond normal wear can still lead to a cleaning bill or an application to the Landlord and Tenant Board for the cost. So the real goal isn’t “winning back” a deposit — it’s handing over a unit clean enough that no charge is ever raised, which is exactly what the checklist above is built to do. (Handing over an Airbnb, a condo, or a place under a private arrangement? The same standard keeps everyone happy.)
Do a final walkthrough
When you think you’re finished, walk the empty unit one more time with this checklist in hand — in daylight if you can, because empty rooms show every missed corner. Take your dated photos, then hand over the keys with confidence.
When to bring in a pro
Move-out cleaning is a big job on a tight deadline, and tackling it after a full day of packing rarely ends well. A professional move-in / move-out clean covers everything above, top to bottom — inside appliances, descaling and all — and if your landlord gave you a checklist, we’ll plan the session around it. It’s fully insured too, so if anything is ever questioned, you’re covered. (Not sure how deep your clean needs to go? Our guide to how often you should deep clean helps.)
Moving soon and want it off your plate? Get a move-out quote — tell us the size of the unit and your move date, and we’ll give it a thorough move-out clean.
Ready for a healthier, properly clean home?
More from the blog
Condo Cleaning in Etobicoke: Keeping a Lakeside Suite Spotless
A Humber Bay or Mimico condo by the water has cleaning quirks a house doesn't — floor-to-ceiling glass, lake-effect grit and salt, and building access. Here's a practical guide to keeping a lakeside Etobicoke suite genuinely clean.
ReadDeep Cleaning a Richmond Hill Home: A Seasonal, Room-by-Room Guide
A deep clean is what resets the parts of a home everyday tidying never reaches. Here's what a proper deep clean covers room by room, when to book one in Richmond Hill, and how it differs from a regular clean.
ReadHouse Cleaning in Vaughan: Keeping a Big Family Home on Top of Itself
Vaughan is a city of large, newer family homes — and a 3,000-plus-square-foot house doesn't keep itself clean. Here's a realistic, zone-by-zone routine to keep a Vaughan home consistently fresh without losing every weekend to it.
Read